The Importance of Broward County 40-Year Recertification
Introduction If you own or manage a building in Broward County, Florida, reaching the 40-year milestone is more than just […]

Introduction If you own or manage a building in Broward County, Florida, reaching the 40-year milestone is more than just […]
Introduction Backflow prevention isn’t just a legal requirement—it’s essential for the health and safety of everyone who uses water in

Clean, safe drinking water is essential for public health. In urban and densely populated areas like Miami-Dade County, where commercial
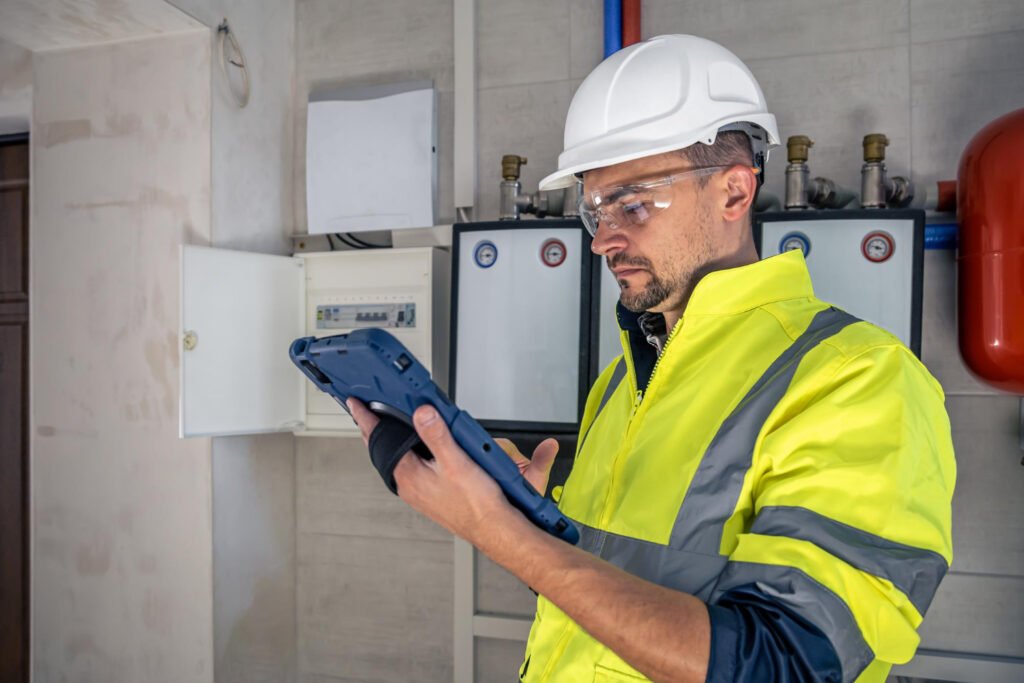
Electrical safety is a critical component of property maintenance, especially in regions like Broward County, Florida. The warm climate, frequent

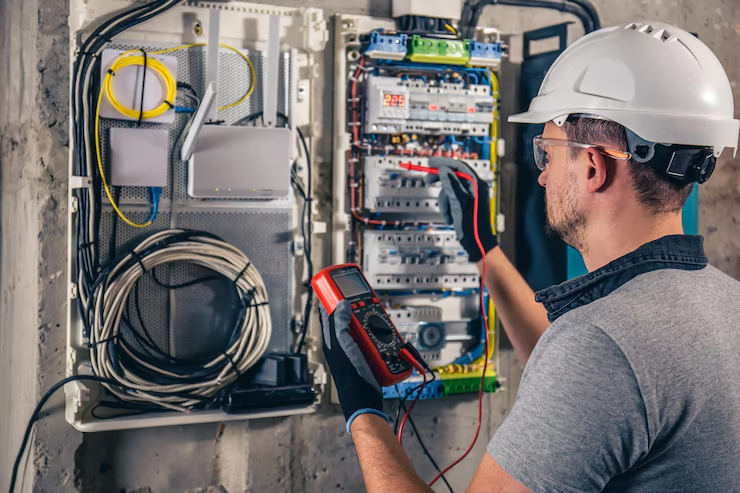
Why Thermographic Inspections are Essential for Electrical Recertification in Florida Thermographic inspections are becoming increasingly vital for maintaining the safety

When it comes to maintaining the safety and functionality of your property’s electrical system, hiring a certified electrical inspector is

If you’re a homeowner, business owner, or contractor in Miami-Dade, ensuring your property’s electrical system is safe and up to

Introduction Concrete is one of the most durable and widely used construction materials in the world. From commercial buildings and

Introduction: The Significance of Building Recertification in Florida Florida’s architectural landscape is a vibrant fusion of historic charm and modern

Introduction Taking on a construction project—whether it’s residential, commercial, or industrial—requires more than just blueprints and a budget. It demands